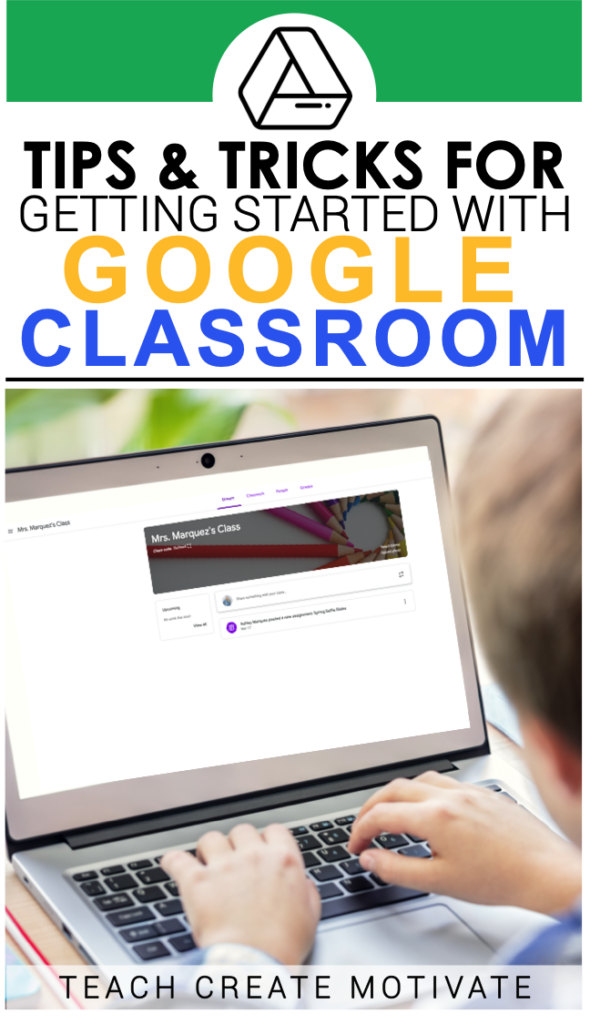
Have you wanted to get started with using Google Classroom but aren't sure where to start? Or are you curious about what other ways you can use it with your students? I have been wanting to sit down and write a full blog post on how to get started with Google Classroom and tips and tricks for using it for a while, so let's dive in!
In order to use Google Classroom with your students your school must have a free G Suite for Education account before you can use Classroom. Students cannot use Google Classroom with personal accounts.
Setting up your Google Classroom
To create a brand new google classroom go to classroom.google.com and sign in with your Google Apps for Education account. Select “create class”. Set up the following things:
- Class Name
- Class Code – this is how students will join your class. You can send it, display it, disable it, and reset it.
- Comment settings – decide if you will allow students to comment or not. Note: You can still post a question for students to comment on. This will be a setting that applies to ALL posted assignments. I normally have this feature off, but for situations like distance learning I would probably have it on.
- Grading settings
Adding students to your class
Students need to go to classroom.google.com on any web browser and use their Google Apps for Education account to sign in. You can add students yourself on the “people” page or you can give them the class code to enter to join! If you add them on your own, your students will see an option to join on their classroom homepage.
The 4 tabs at the top of your class are:
Stream: Recent activity
Classroom: where to add work for your students
People: who is in the class
Grades: see class grades
Assigning Classwork & Activities
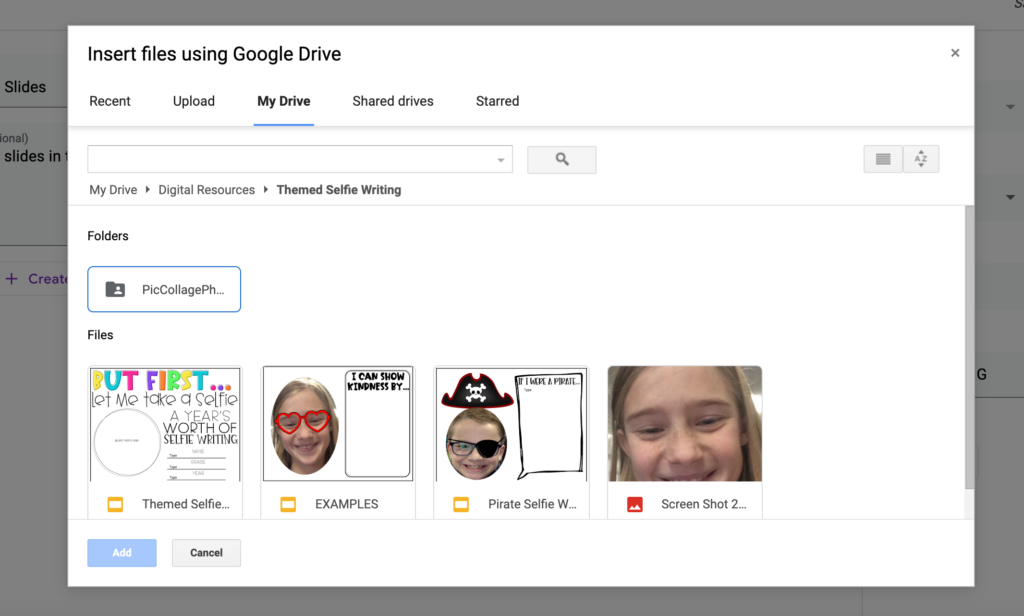
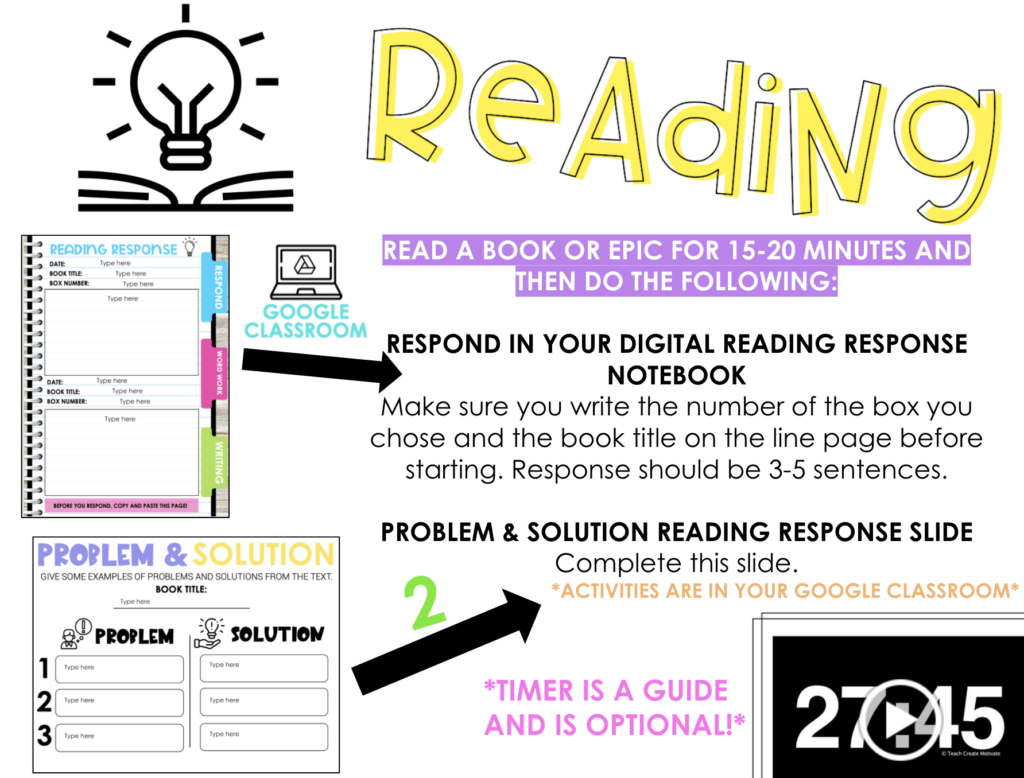
One of the best features about Google Classroom is that you can add assignments and activities directly from your Google Drive. For example, to assign a reading graphic organizer, you just find where it is located in your drive to attach to the assignment.
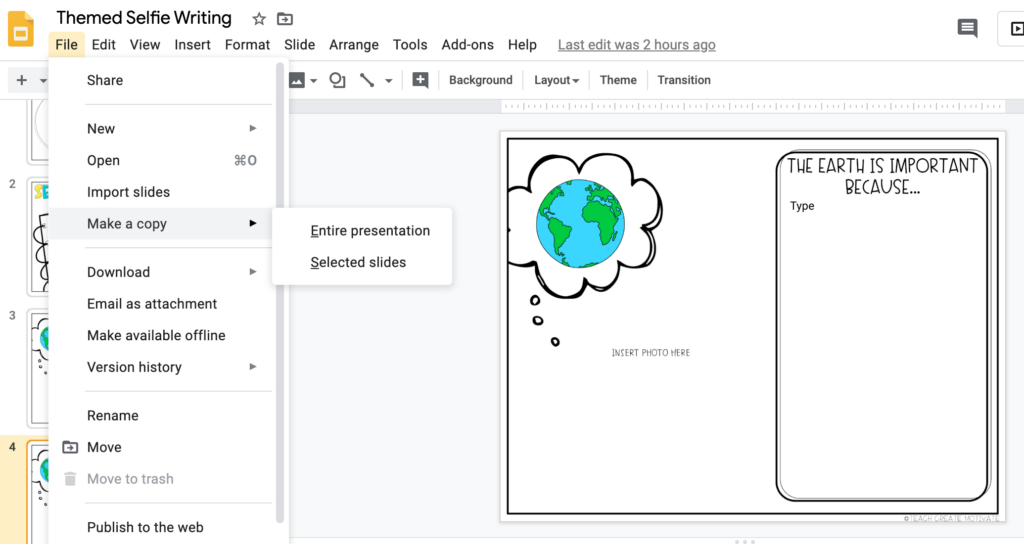
IMPORTANT NOTE: Always make “master” copies of your resources. When you want to assign something to your students-make a new copy, delete any slides you don't want them completing at that time, and rename it. Repeat these steps to assign new or additional assignments from the same master template! Another way of doing this is FILE-MAKE A COPY-SELECTED SLIDES. Then rename and choose the location where it saves!
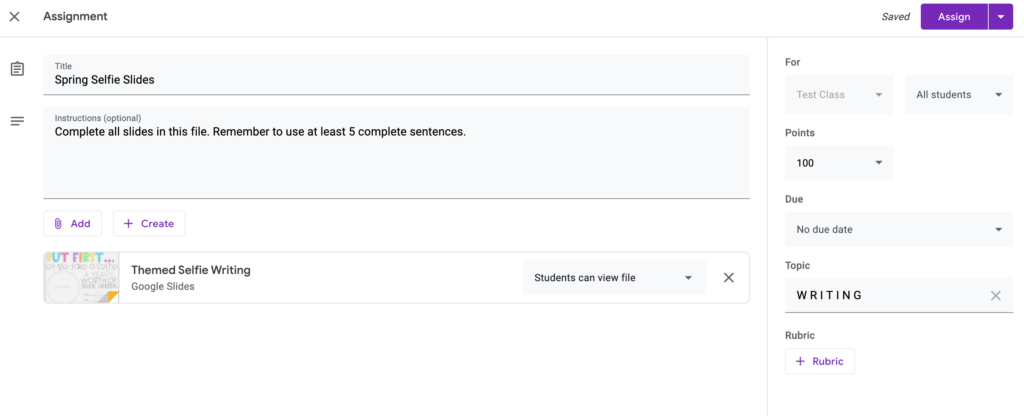
When assigning classwork here are some important tips and things to remember:
- You can have multiple classes and decide which class(es) get which assignments
- You can assign things to everyone or to certain students (this is GREAT for differentiation)
- If you are planning on grading an assignment-assign a point value
- Due dates are an optional feature
- Instructions are an optional feature
- You can schedule assignments and save drafts
Create Topics
I love to organize my classroom into subjects. This makes the assignments very easy to find! If you are practicing distance or at home learning, you could make folders/topics into DAYS or WEEKS as well. Use the Chrome extension JoyPixels to add emojis to your topic names. This creates student engagement and provides great visuals!
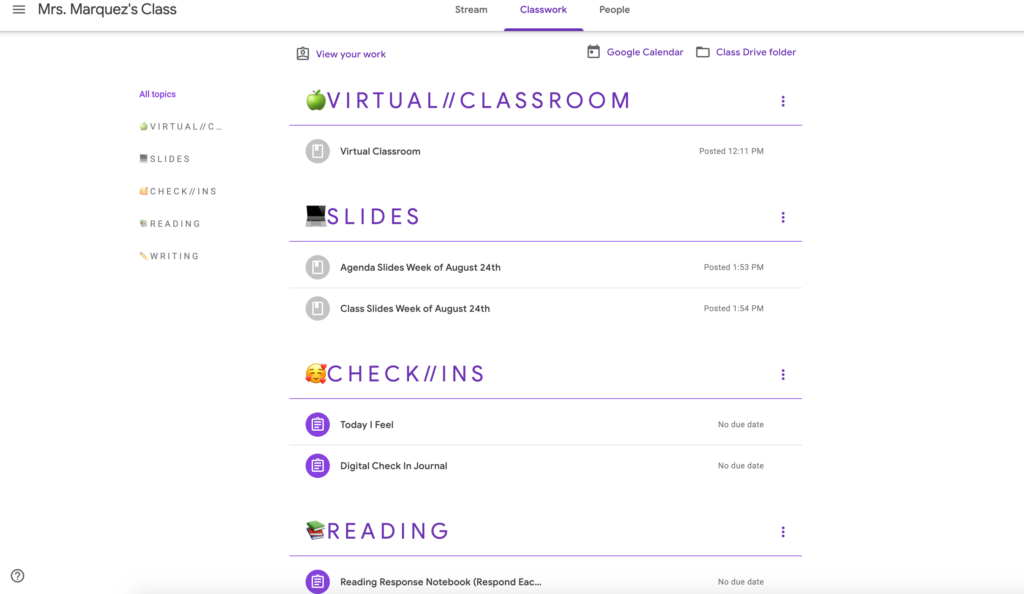
Use the Materials Feature
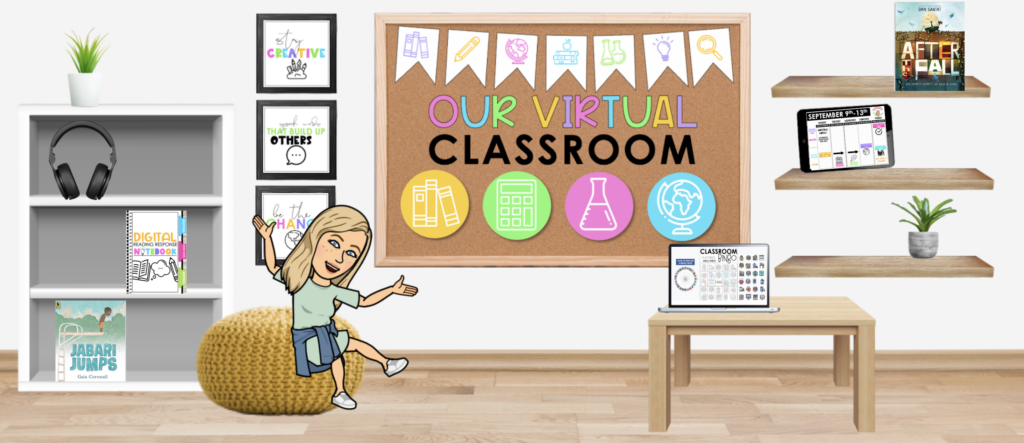
Add things as “materials” for your students to view. This works perfectly for your Virtual Classroom, Agenda Slides, and Class Assignment Slides.
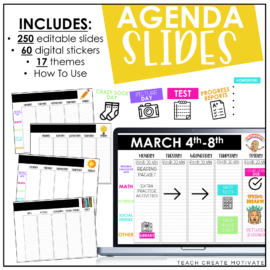
Agenda Slides
This mega file of editable agenda slides (with timers option!) is perfect to help your students get organized! Project them using the PowerPoint file or Google Slides Presentation for them to copy their homework, important events, and things to remember! MULTIPLE versions included as well as the ability to add your text!
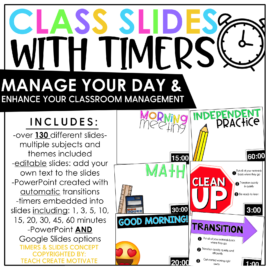
Class Slides with Timers
Using timers in my classroom is one of my favorite ways to manage classroom time and my student’s engagement while they're working on something. These editable slides have built-in timers to fit your needs in your classroom! Help yourself stay on track with teaching and help your students learn time management and take ownership of their learning. This resource is packed full of slides to help you manage your entire day!
Interactive Learning
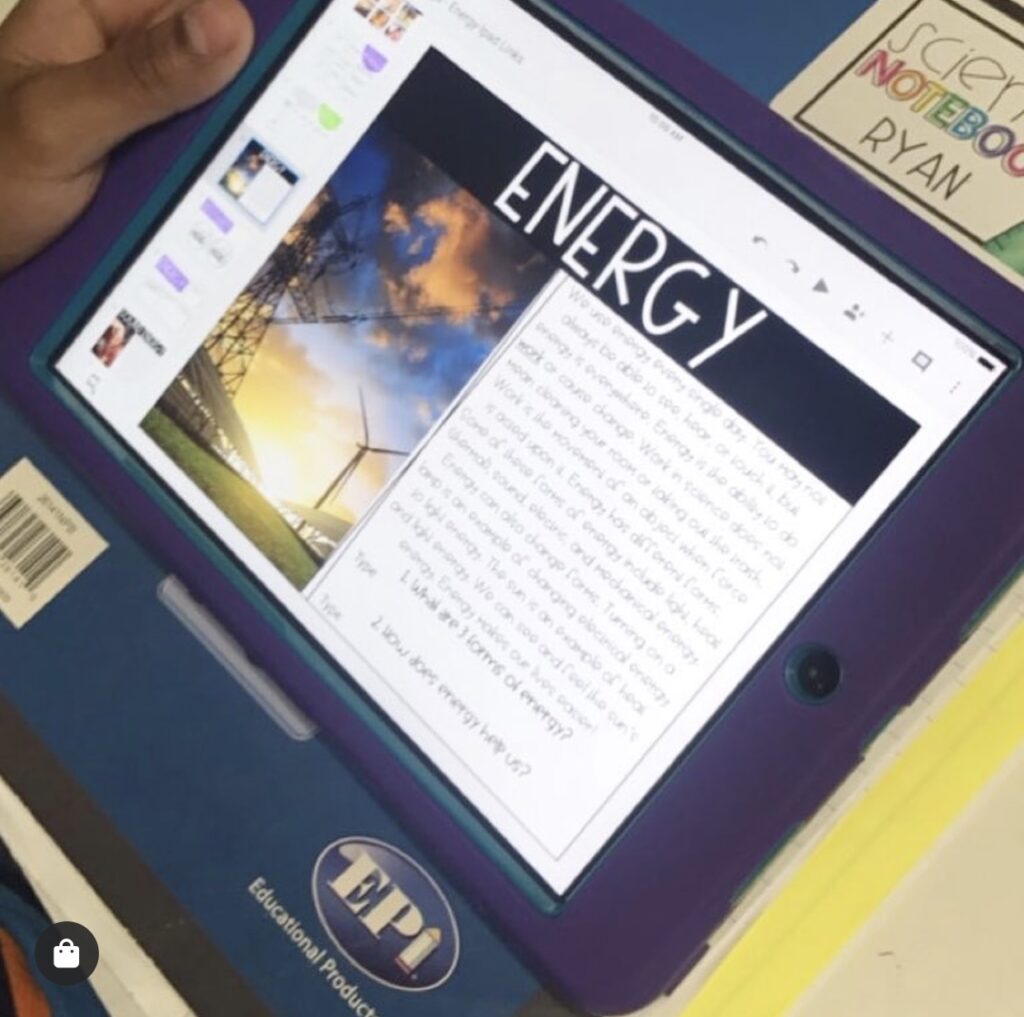
Google classroom really is the best for interactive learning. There are so many options for resources you can use to assign to your students digitally. Here are some of my favorites (I am in the process of adding even more, so check back frequently!) :
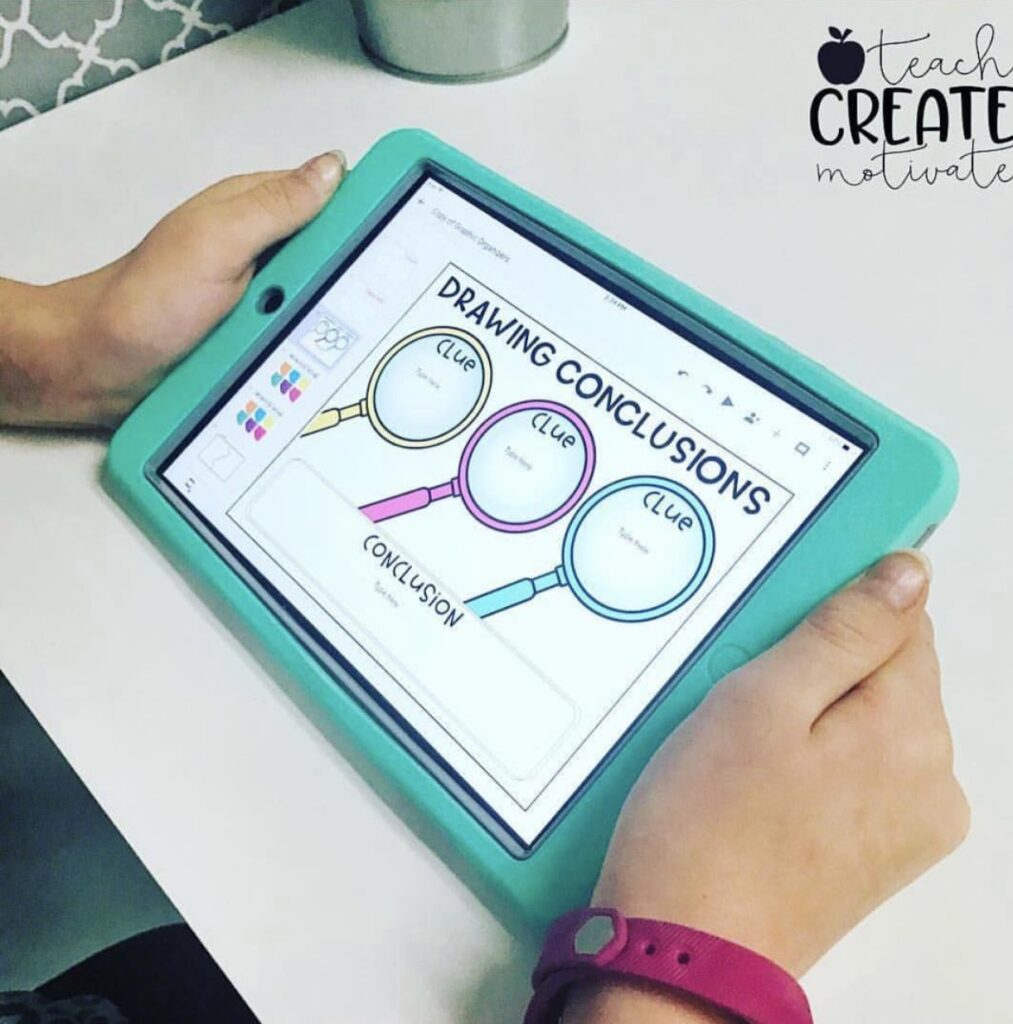
- Digital Graphic Organizers
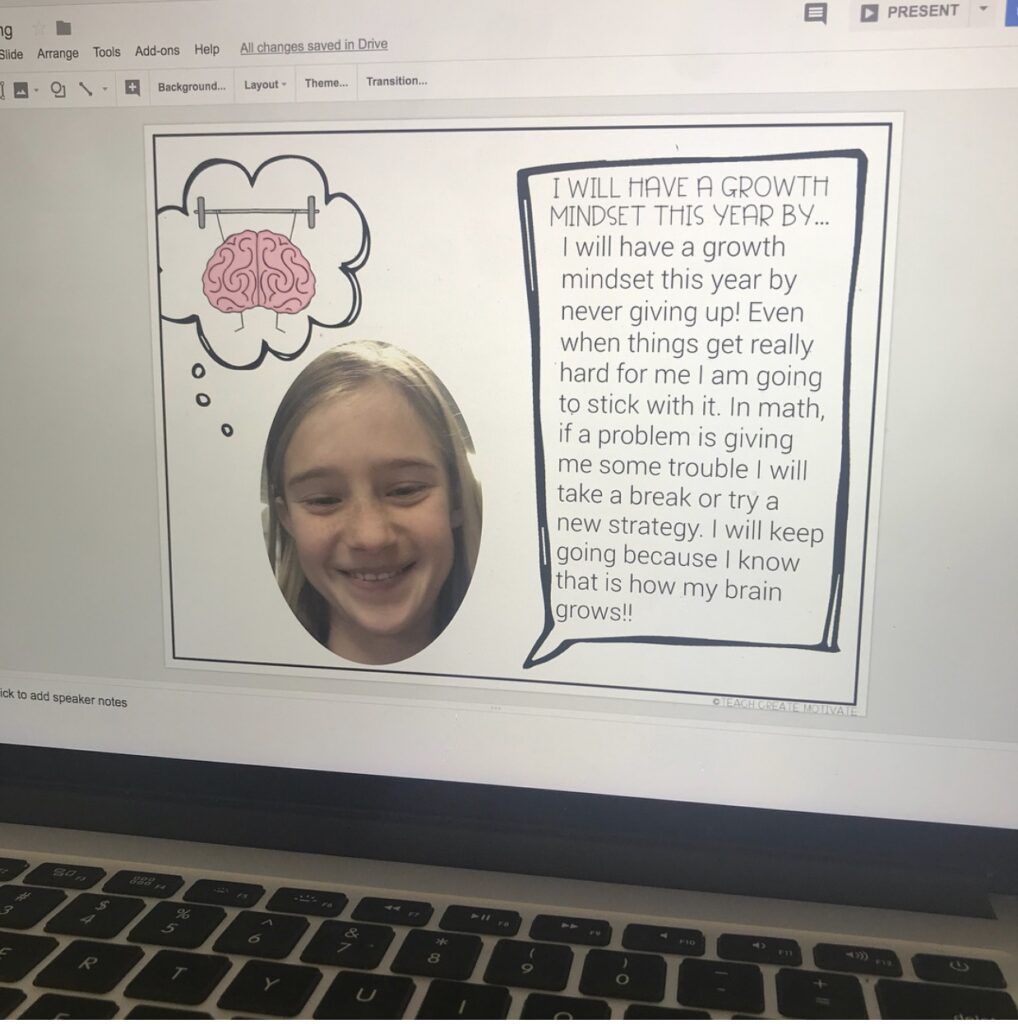
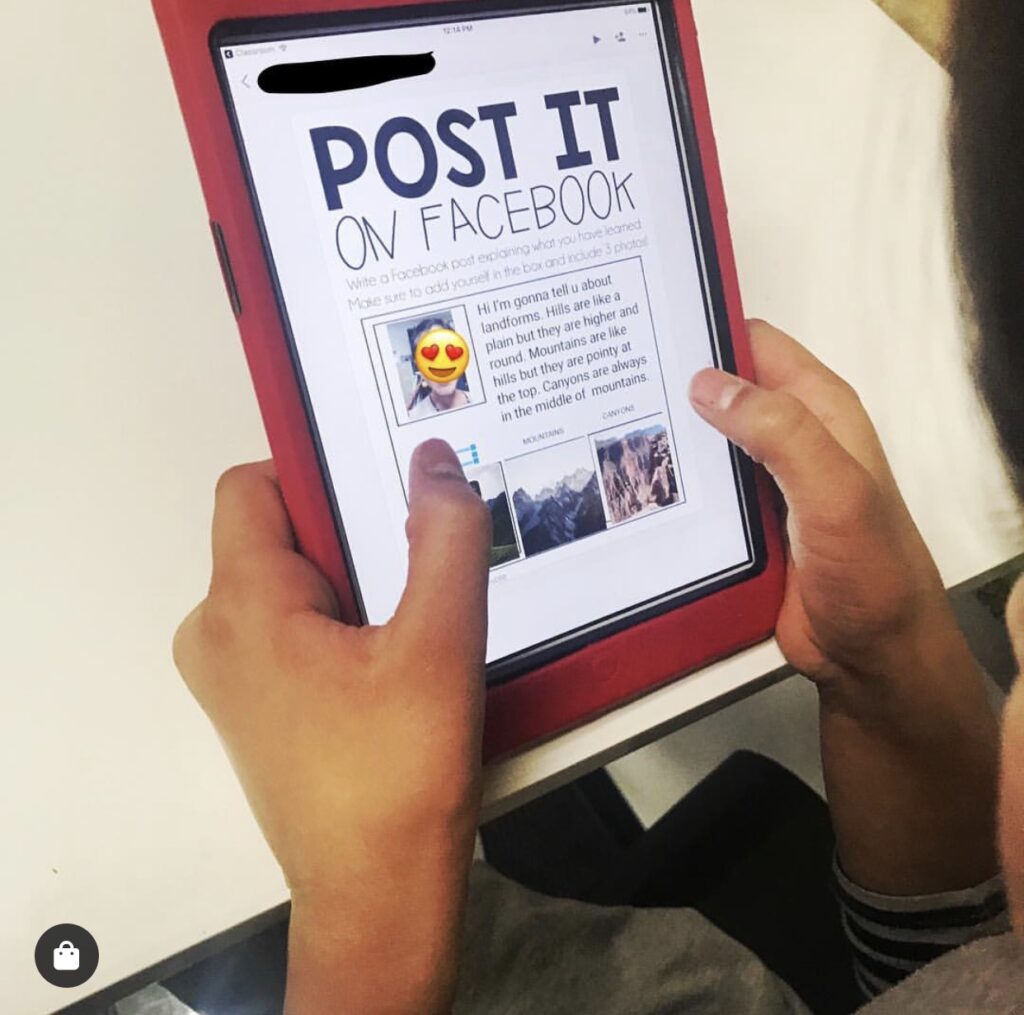
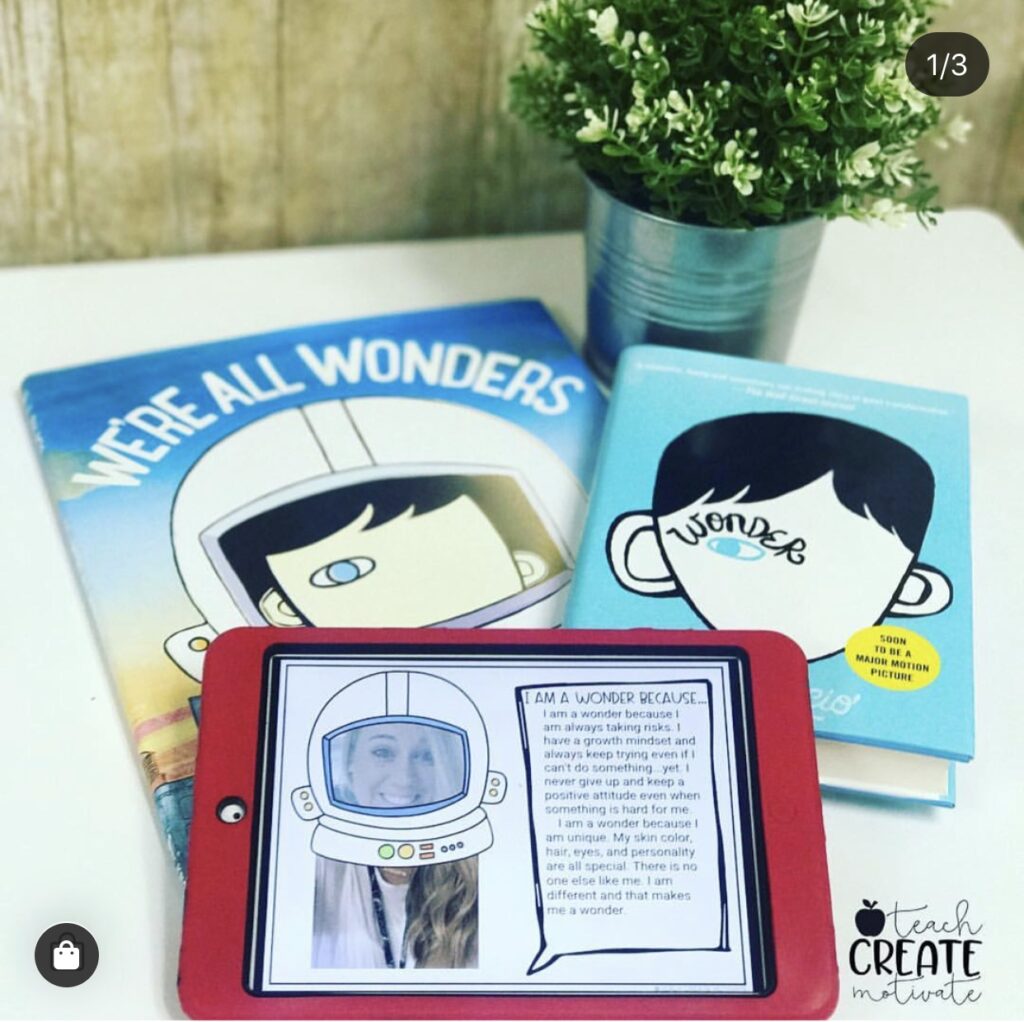
- Digital Selfie Writing
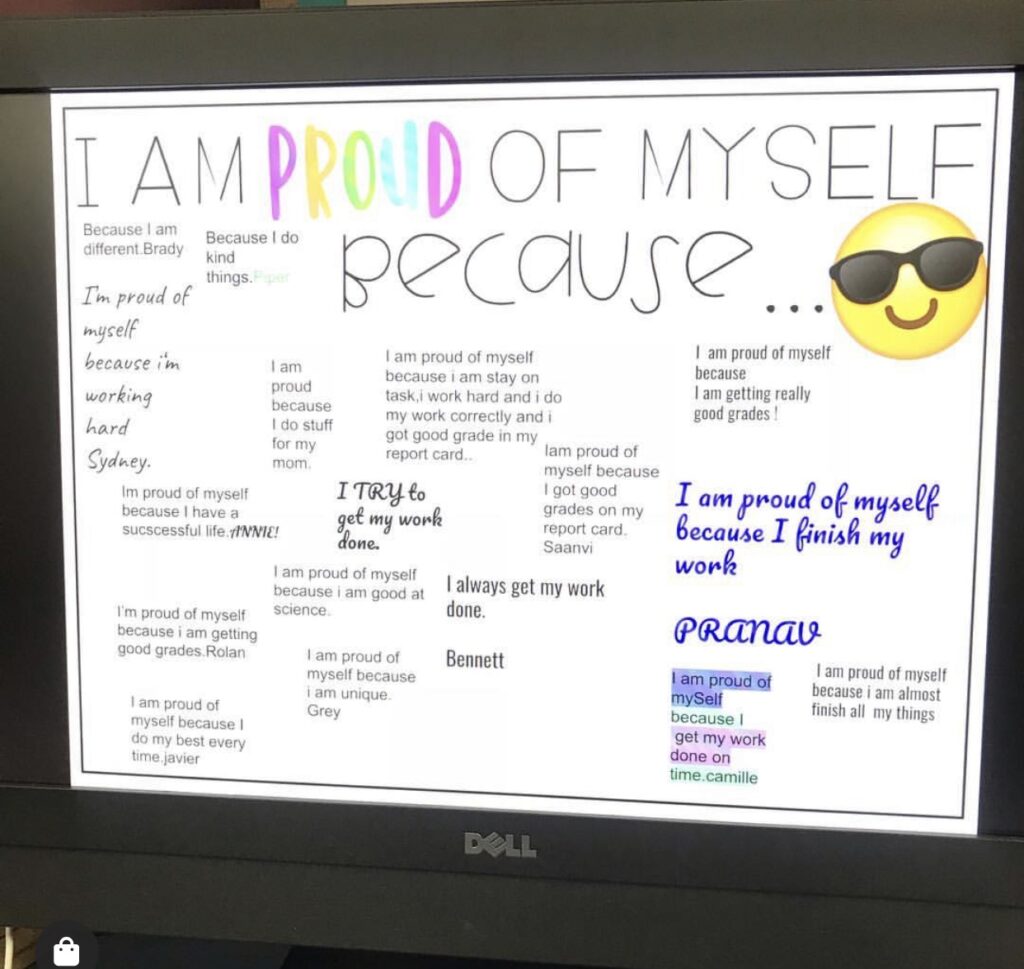
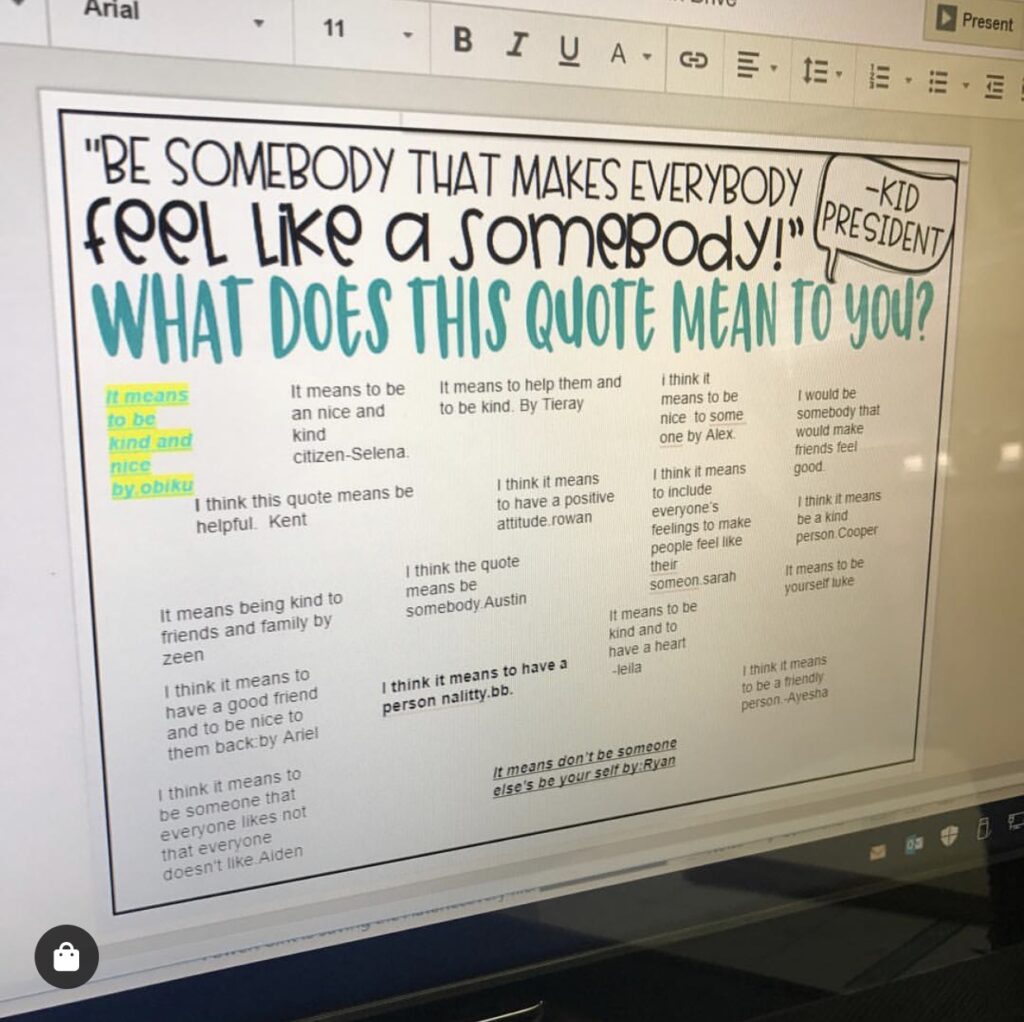
- Interactive Discussion Slides
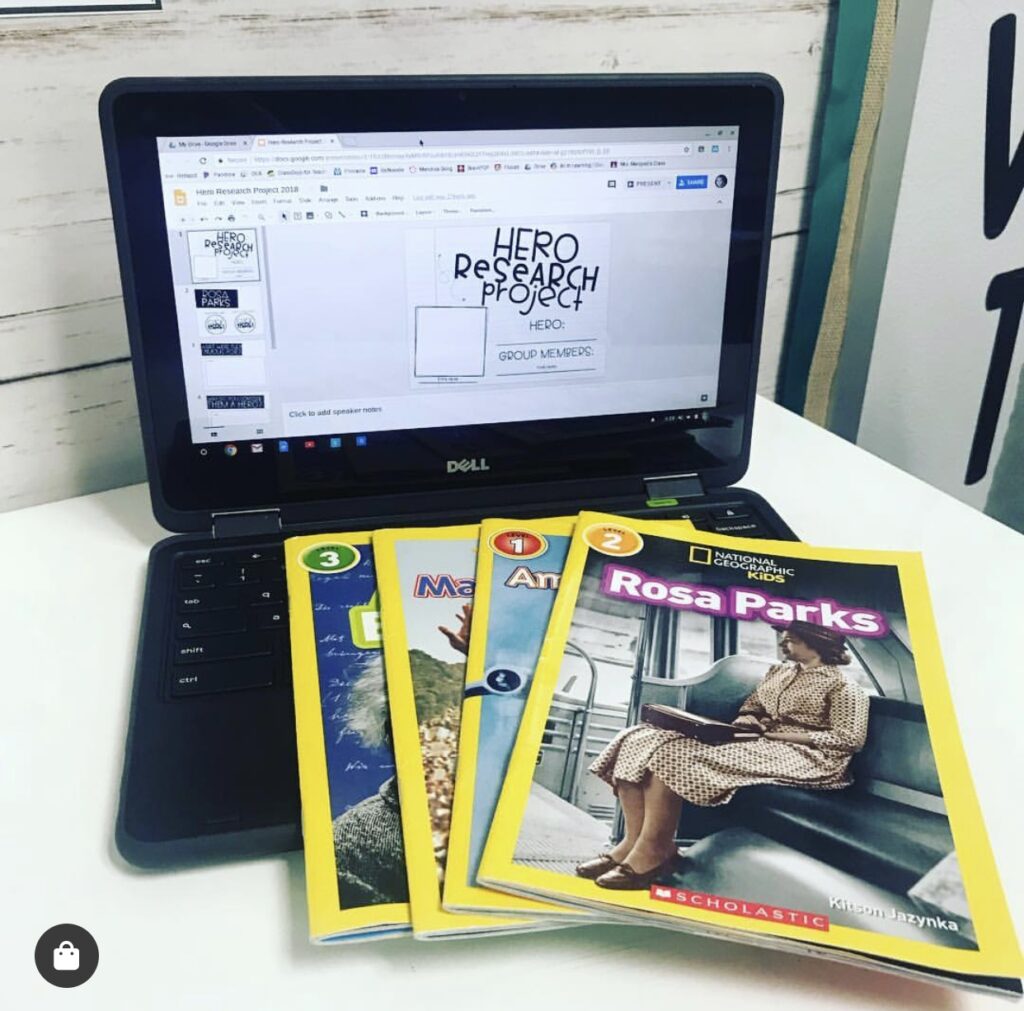
- Famous Person Digital Research Project
- Environment Digital Research Project
- Science Digital Activities
- Podcast Response Slides
- Seasonal Digital Activities

Themed Selfie Writing Slides
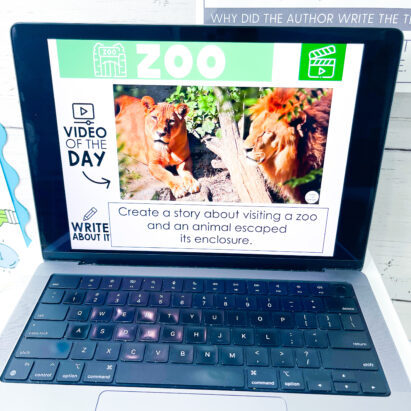
You will love these themed and holiday writing pages. These selfie writing prompts pages can be used in print or for digital writing (Google Slides on an iPad or Chromebook, with PIC Collage,). Have your students “take a selfie” with over 100 writing prompts.
You can also create your own slides in Google Slides with questions, writing prompts, math problems, science lessons, etc!
View, Collaborate, Edit
Depending on the assignment you are attaching the drop down on the bottom right is very important.
Student can view file: If you are wanting students to view them only
Student can edit file: If you want them ALL to edit and type one that one collaborative file.
Make a copy for each student: This makes each student their OWN editable copy of a document so that they can type and interact with it before turning it in.

Class Discussions
There are lots of ways to have class discussions through Google Classroom! You can post a question in the classwork tab and have students comment on that thread. You can also assign interactive slides and allow everyone to collaborate through there. Make sure that you select “allow student to edit” when you assign a collaborative file!
Quizzes, Tests & Exit Tickets
Google forms can easily be used for quizzes, tests, check ins, etc! In Google Forms , select from a template, scroll down until you see education, and select which works best for you. There are options like blank quiz, exit ticket, assessment, and more. You can create your quizzes to have multiple choice answers, short answer, long answer, and more. Make sure to create the answer key so the form knows which answers are correct.

Things you can attach to Google classroom (use the assignment tool!):
- Video (Loom is an amazing tool to record your screen, yourself, or both!)
- Links – websites, link to a ZOOM live meeting, Kahoots, Youtube videos, etc.
- Any Google file (doc, form, slides, sheets, and DRAWINGS!)
- Other websites like Readworks, Newsela, Edulastic, Flocabulary, and Brainpop have the capability to also automatically sync with Google classroom
Attaching Pages from a PDF document
If you are wanting to attach a PDF document, but only want to send your students ONE page there is a few ways to do this.
If you have a Mac: open your PDF with “Preview”, go to File, Print (type in your page numbers you want to save, and select “save as PDF” in the bottom left corner. Then choose where you want to save the new file!
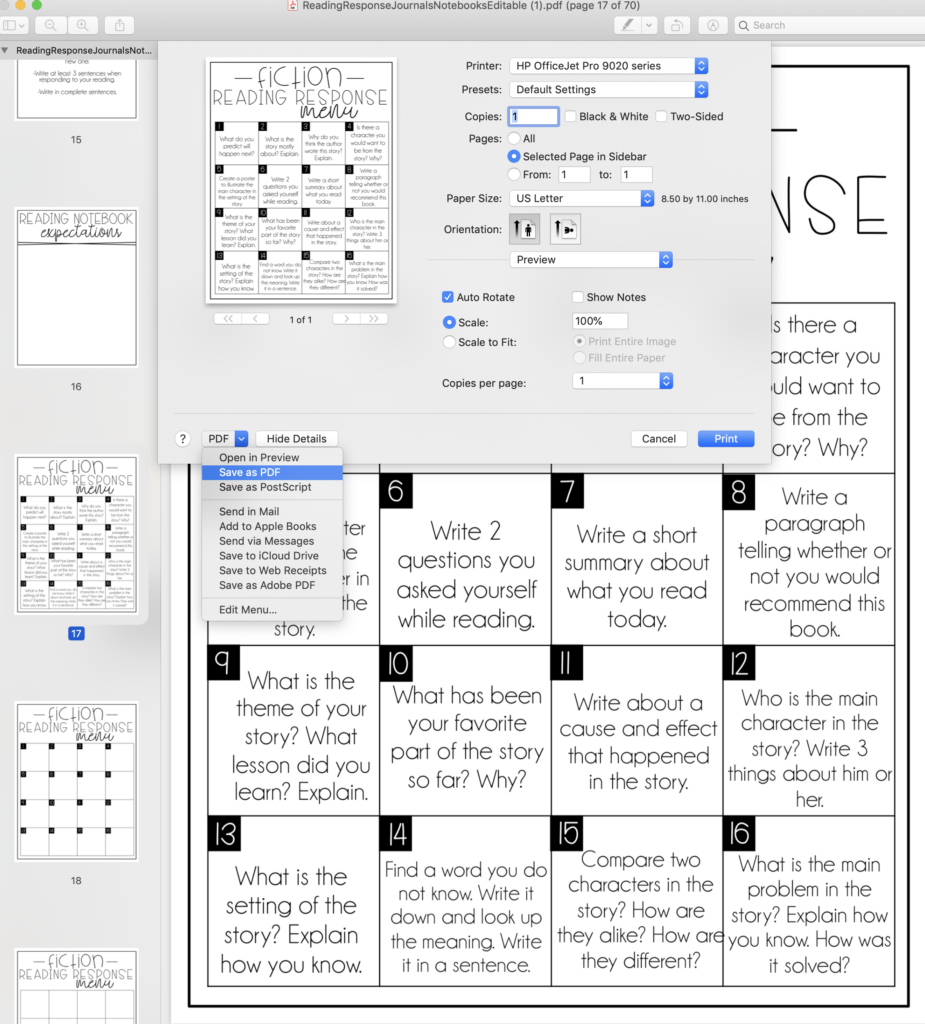
If you have a PC: open your PDF, go to File, print (type in your page numbers you want to save, and select “save as PDF” in the top drop down. Rename your file and then choose where you want to save the new file!
Another option is to take a screenshot or a snippet of the page or part of the page you want to attach. Here is how to do that:
PC: Windows+Shift+S
Mac: command + shift + 4
Chomebook: Ctrl + Shift + Switch
You can also attach an entire PDF but then just tell them in the instructions which pages to view or work on.
For interactive work on a PDF, your students can use the Adobe Acrobat Reader (free!) to engage interactively. This is the same program you are likely using when you open any PDF resources of mine anyway! Some great features you can have your students use with this are the comment tool, drawing tool. and typing tool. They can then save the PDF and re-upload it on their end of the Google Classroom assignment when they are ready to turn it in.
Videos
Attaching videos is super easy! You can attach any videos of you teaching, reading, explaining things, etc! You can take a video with your phone or your computer and upload it as an attachment for that assignment. Another option is to use LOOM to record your video and attach that link to your assignment!
Parent Access
Parents are able to receive email summaries showing their student progress. They can be daily or weekly. Teachers must invite them to accept this invitation via email.
Other Tips:
- You can change your classroom header to be something custom you have created! This can easily be done in Powerpoint or Canva! The size for that image is 1000 by 250 pixels OR 13.33 by 3.33 inches.
- You can edit or delete posts or assignments.
- There is a calendar feature you can sync with your classroom and assignments.
- You can copy assignment direct links to send out if needed.
- You can add a co-teacher to your class as well.
- Transfer ownership of a class.
I have some digital freebies for you below! Just put your email in to get them straight to your inbox!
I hope this post was helpful! You can see all of my digital resources HERE! To save this post for later you can pin the image below!
 END OF YEAR ACTIVITIES!



Leave a Comment