I posted a picture of some curtains I “made” for my classroom on Instagram and many of you wanted a quick tutorial! It really is the easiest thing! I honestly used leftover fabric pieces from my bulletin boards and a few spools of ribbon!

Step One:
You want to gather your ribbon and your fabric. I used a few different kinds of each. They are all coordinated but it gives it a little bit of extra cuteness that way!
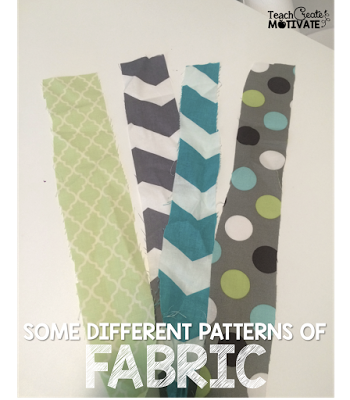
You probably only need one spool of each kind of ribbon, depending on how many you choose and how long your curtains are.

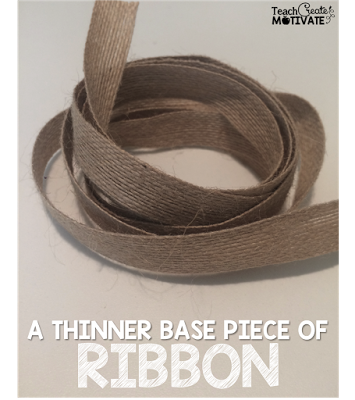
You also need a thinner base piece to tie them onto. I bought the burlap spool at Hobby Lobby. It was just enough to allow me to make 2 sets of curtains. I didn't go TOO thin on this. You DON'T need this if you are going to tie directly onto a tension rod! This is totally an option. My classroom already had rods screwed into the walls…so I just TIED my curtains on there. If you just have a window a tension rod will work just fine!
Step Two:
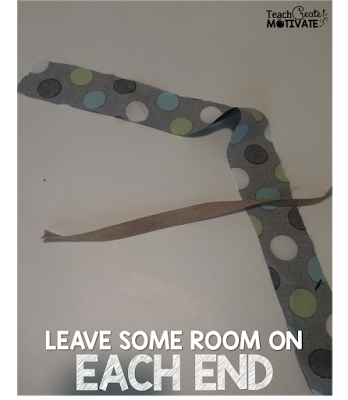
After you have cut your ribbon AND fabric into strips, you can get started. You can measure and cut carefully OR you can be like me and not care too much! I wasn't going for a super clean look…I like the shabby chic feel to mine! I cut my pieces about 24 inches long, give or take a few! I also just “eyed” the thickness. They are not all the same thickness exactly. Again, this adds to the feel of my style! You can do this however you want! Start by laying your first piece of ribbon or fabric face down under your base ribbon. Leave a little room on the outside–to tie them on the rod. If you tie them directly on the rod..just do this same step but with your tension rod! (you may want to make your strips longer if you are tying onto a rod since it is thicker)
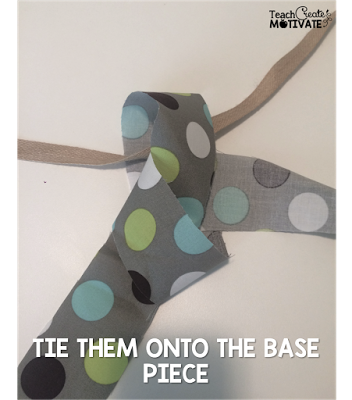
Tie that piece together to the base ribbon.
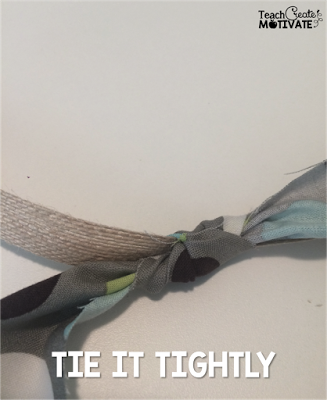
Then, pull both pieces down and flat where the patterned side of the ribbon is visible.
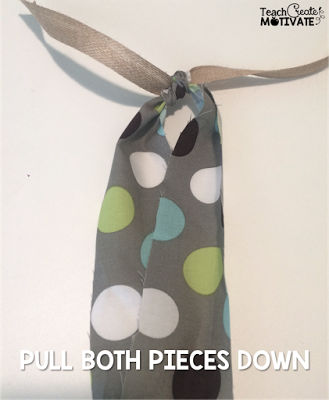
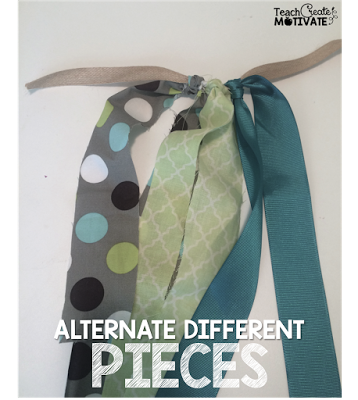
Alternate different ribbons and fabric pieces in a pattern or just totally random (what I did!)
Step Three:
Continue on tieing the ribbon, and you will have yourself some cute curtains!!! They are easily moveable on the ribbon too. So when I hung them up I could move them to the left or right easily to get the spacing right for the look I wanted!
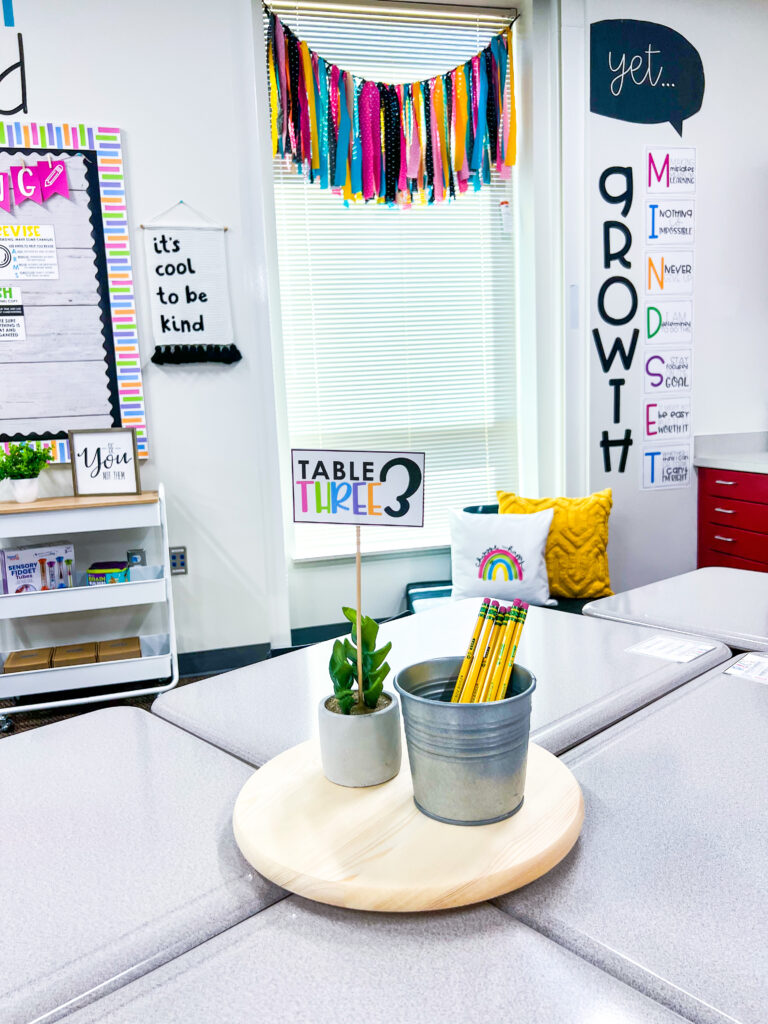
THE FINAL LOOK!
I hoped this helped you and I can't wait to see some of your classroom curtains!
Pin this image to come back later and read this blog!
 SPRING ACTIVITIES



These are great! Thanks for sharing this tutorial!
Angela
The Organized Plan Book
I love the colors you used!! Might steal this for our new baby room!
Thank you for sharing!
Kimberlee
It’s Kinder Time
Thank you! I love the polka dot ribbon! I have seen these around, so I appreciate the tutorial.
So cute! I did something similar two years ago. I have a picture (not great) on this post. My fabric pieces were much wider. But it was to camouflage a random board that went across my windows. :)I also used the thin strips, like yours, and tied them around a hula hoop to make a "chandelier" in the middle of my classroom. But I don't have that picture on my blog.
http://www.teachertipsandtidbits.blogspot.com/2013/09/classroom-tour-beginning-stages.html
Thank you so much for sharing this post Ashley! I just made my own curtains and wrote about it on my blog! Check it out! http://dabblingindifferentiation.blogspot.com/2015/06/curtains.html
Michelle from Dabbling in Differentiation